
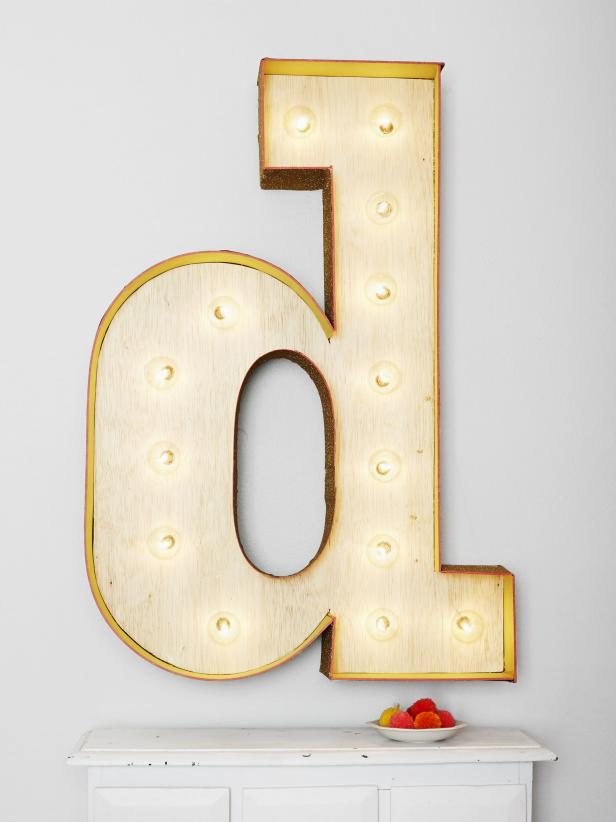
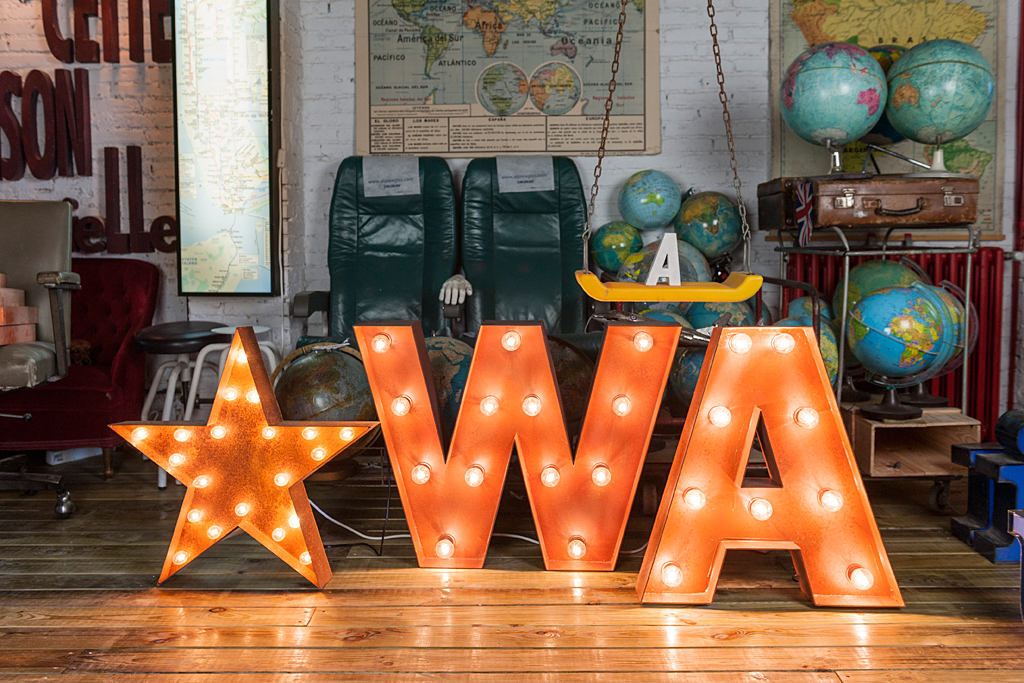
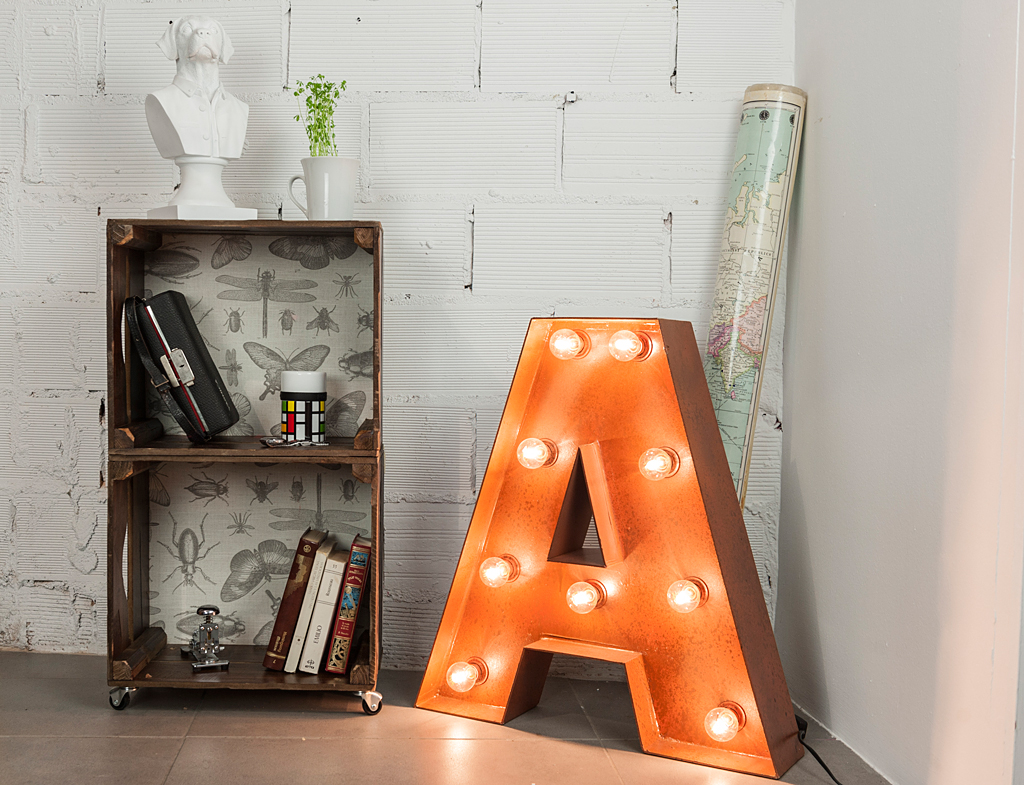
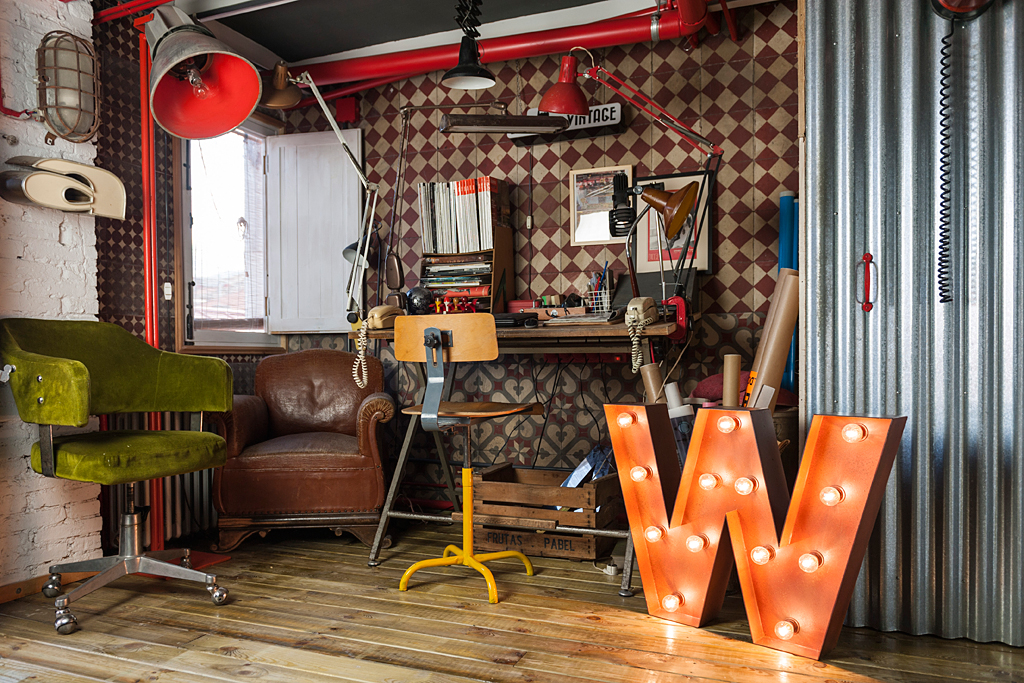
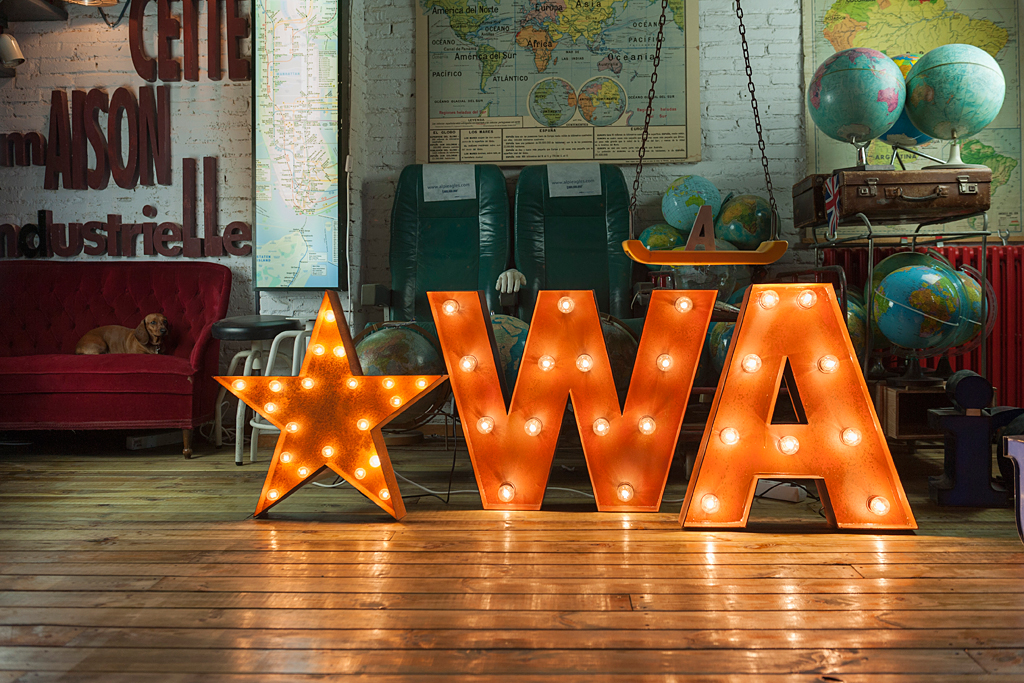
Most people struggle to find art, especially art that’s on the larger side. Big wall decor is usually one of two things—super expensive or a snooze-fest. But not this giant marquee letter sign.
Marquee letters are quite the rage right now. Most of the DIY
versions are made from chipboard 3D letters from the craft store. Those
are great, but what if you want something larger and more amazing than
your standard 18 inches? Read on for a step-by-step to create this fun
DIY!
Materials Needed:
- 2x4 piece of plywood (3/4” width suggested)
- four 5.5” x 4” pieces of 1/8”-thick MDF
- strand of globe string lights
- wood glue
- hot glue (optional)
- 120 grit sandpaper
- wrapping paper
- spray adhesive
- poster board
- paint
- smooth-finish paint roller
- jigsaw
- staple gun
- drill
- 3/4" paddle drill bit
- 1/2" round drill bit
- miter saw
- picture wire
- eye hooks or screws
- screwdriver
- pen or pencil
- tape measure
Step 1
Choose your letter and your font. You have two options at this point.
If you are comfortable freehand drawing the font design, do it. If you
want something to trace you can have your local printer print out a full
size version of the image.

Step 2
After you transfer the letter image to your plywood, cut it out with a
jigsaw. It’s best to go slow and steady when using a jigsaw to get a
more precise cut. If your letter has a center hole, use a 1/2” bit to
drill a starting point for your saw blade so that you are able to cut
out the middle.

Step 3
Put something underneath the letter to elevate it off the ground.
Spray paint caps were used in this example, but you could use anything
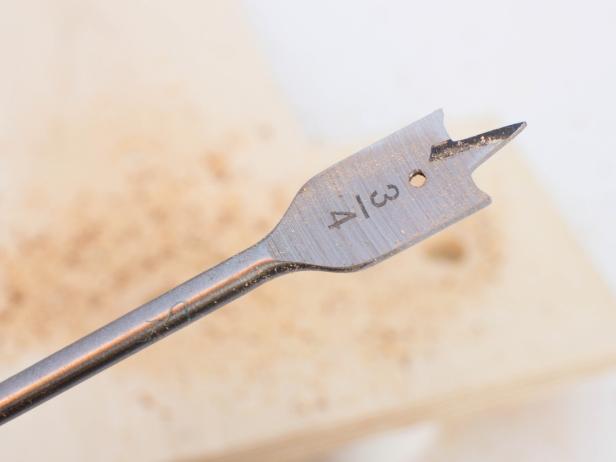
that offers a stable surface. Measure the distance between each light
bulb on your sting. Use that number to measure and mark the spots on
your letter (beginning in the center) where you’ll drill holes for the
light sockets. Drill holes using 3/4" paddle drill bit.
Step 4
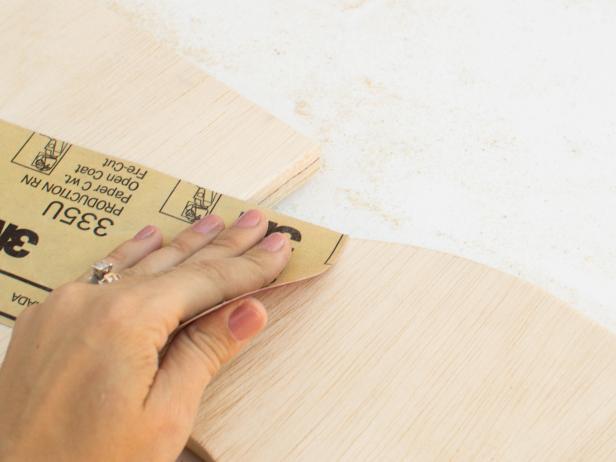
Go back over the edges of your letter with a piece of sandpaper to
smooth it out and get rid of any leftover guide marks. Be careful not to
sand too heavily, as that can erase the wood grain.
Step 5
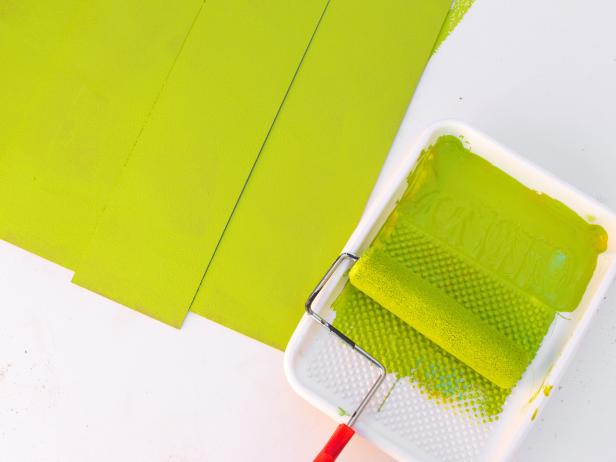
Lay the pieces of MDF side by side and paint one side using a roller that is designed for a smooth finish. It’s best to go in one direction in a long stroke, so not to create visible brush marks. Let dry.Step 6
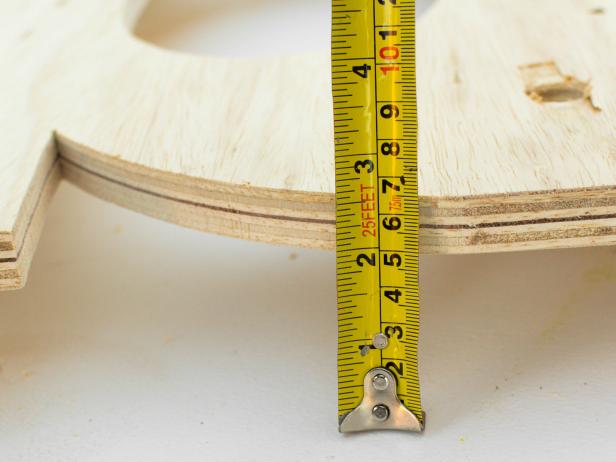
Again, put something underneath the letter to elevate it off the
ground a few inches. Make sure the letter is facing down. Measure the
distance from the ground to the middle of your plywood.

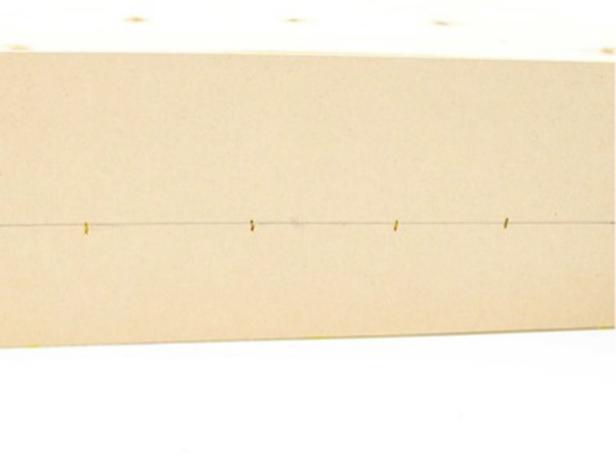
Step 7
Mark this distance on the unpainted side of your MDF. This is your
staple line, or seam. Doing this prevents your staples from showing in
the front of the sign.

Mandi Gubler, vintagerevivals.comStep 8
Use a tape measure and a saw to cut the MDF for length in places such
as the top of the letter and around the curve of the d. Staple along
the seam where you marked the MDF in the previous step (shown below).
For the center hole use poster board, which is much easier to bend. Your
sign should be 3D from both the back and front.
Step 9
Once your letter is completely framed, flip it over so that the
backside is up and put a line of wood glue along the seam. (Keep it out
of the very corners because it has a tendency to leak through to the
front on those spots).

Step 10
While your glue is drying, cut your wrapping paper to the same
dimensions as the outer side of MDF. Use spray adhesive to secure paper
to MDF. If you don’t want to cover the entire outside, you can paint it
and put a line of ribbon, washi tape, or leather along the seam to cover
the staples.

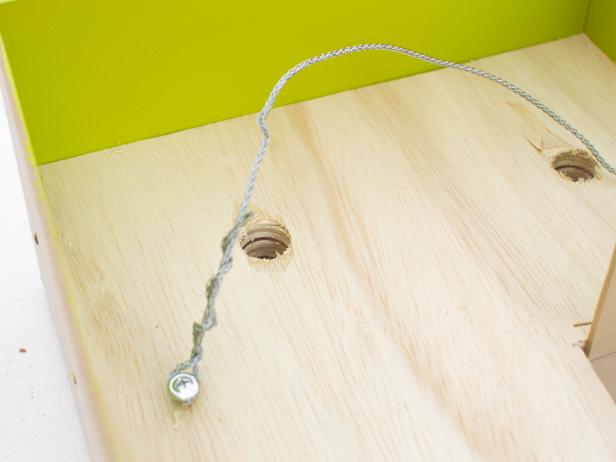
Step 11
Thread a bulb from the string of lights through each hole from the
back of the sign. Lights should fit snuggly, but a bit of hot glue will
make sure they stay in place if needed. Tuck the remaining string behind
the letter after removing the leftover bulbs. Leave only the length
needed to plug the sign in.
Step 12
To hang the sign, screw in a few short eyehooks to the backside of
the letter (make sure they don’t go through all of the way!) Attach
picture wire. If your letter is not hanging straight, put a small nail
in your wall to support the other side. This doesn’t hold the sign’s
weight, only keeps it level. Plug in.